You’re probably holding the 35-ds3chipdus3, a powerful but small component. How do you transfer it from its antistatic bag to your System? The process can be a bit like delicate surgery, especially with all the conflicting information. My hands were probably a bit shaky the first time I handled a chip like this. I was worried that I would fry a component or bend a pin with a static spark. Over the years, I have learned that anyone can install these upgrades with a methodical and careful approach. This guide, based on my experience, will walk you step-by-step through the installation process, making it simple and safe. From what the chip does to final checks that confirm your installation is a success, we’ll cover it all.
Upgrades to computer hardware are often thought of as a job for experienced technicians. However, the 35-ds3chipdus3 can be installed by many users themselves. This chip can be used to improve communication, increase system stability, or speed up data processing. This upgrade can bring new life to an old system or maximize its potential. This walkthrough will help you understand the installation process and give you the confidence and knowledge needed to do the job right the first go. We will explore more than just the physical installation. We will also cover the preparations needed, the post-installation check, and common problems.
Understanding the 35-ds3chipdus3 & Its Purpose
It’s important to know what 35-ds3chipdus3 is before we start scrubbing. This component is a digital interface and signal processing chip. Imagine it as a traffic controller specialized in data that is moving inside your device. It controls the flow of data between the major components, such as the processor, memory, and peripheral devices, to ensure that signals are sent quickly, accurately, and efficiently. Data transfer can be a bottleneck in systems that deal with large amounts of data, such as gaming rigs, video editing workstations, or complex IoT configurations. This chip was designed to eliminate bottlenecks and improve overall performance.
DS3 Technologies Inc. designed the product for a wide range of applications – from embedded systems to single-board computer desktops. Its primary purpose is to optimize communications protocols and manage the integrity of signals, which become increasingly important with faster processing speeds. A signal that is unstable can cause data corruption, System crashes, or performance throttling. Installing the 35-ds3chipdus3, essentially, you’re providing a robust communication framework for your System, which can result in tangible benefits such as faster boot times, lower latency, and more stable performance when under heavy load. It’s more than just speed. It’s about ensuring that the System works together better.
Prepare your workspace and tools for installation.
Before you touch the chip, you need to prepare for a successful installation. Preparation is key to preventing damage and ensuring smooth operation. It is important to have a clean and organized environment that’s free of static electricity. Electronic components are silently killed by static electricity. One single discharge, which is not felt by the body, can destroy the circuitry in the 35-ds3chipdus3. You should create a safe work environment as your first priority. It is important to work on a non-conductive, hard surface, such as a laminate or wooden desk. Do not use a carpet.
Gather all tools needed once your workspace is prepared. You won’t have to stop mid-process if you keep everything at your fingertips. This is a list that you should always have with you:
- Antistatic Protection: A wrist strap that protects you from static is the best thing for you. Clip it on a metal surface of your computer chassis that is not painted to ground yourself. A mat that is antistatic can be used to protect your work surface.
- Screwdriver set: You will need a good set of flathead and Phillips-head screwdrivers to open the device’s casing.
- Tweezers and Pliers: The non-conductive (plastic- or ceramic-tipped tweezers are extremely useful for manipulating small screws or wires.
- Device manual: The manual of your computer or motherboard is a map. This will tell you where the chip or designated area is located.
- Cleaning Materials: A compressed air can is ideal for cleaning the installation area. If necessary, isopropyl and lint-free cloths can be used to clean contacts.
Step-by-Step Hardware Installation Guide
It’s now time to start the installation. Gather your tools and prepare your workspace. Slowly and deliberately work. The most common mistake is to rush.
- Unplug and power down everything: The most important safety measure. Shut down the device completely through your operating System. Turn off the power supply unit using the switch at the back. Disconnect all peripheral devices, such as your keyboard, monitor, and mouse, from the wall outlet. Press and hold the power switch on the case for 10 seconds. This will discharge any residual electrical current in the capacitors.
- Open the Case and Ground Yourself: Move the device to the workspace you have prepared and remove the side panel carefully to gain access to the internal components. Please put on the antistatic wristband and connect it with a metal part of your computer frame before you touch anything. You will be grounded at all times.
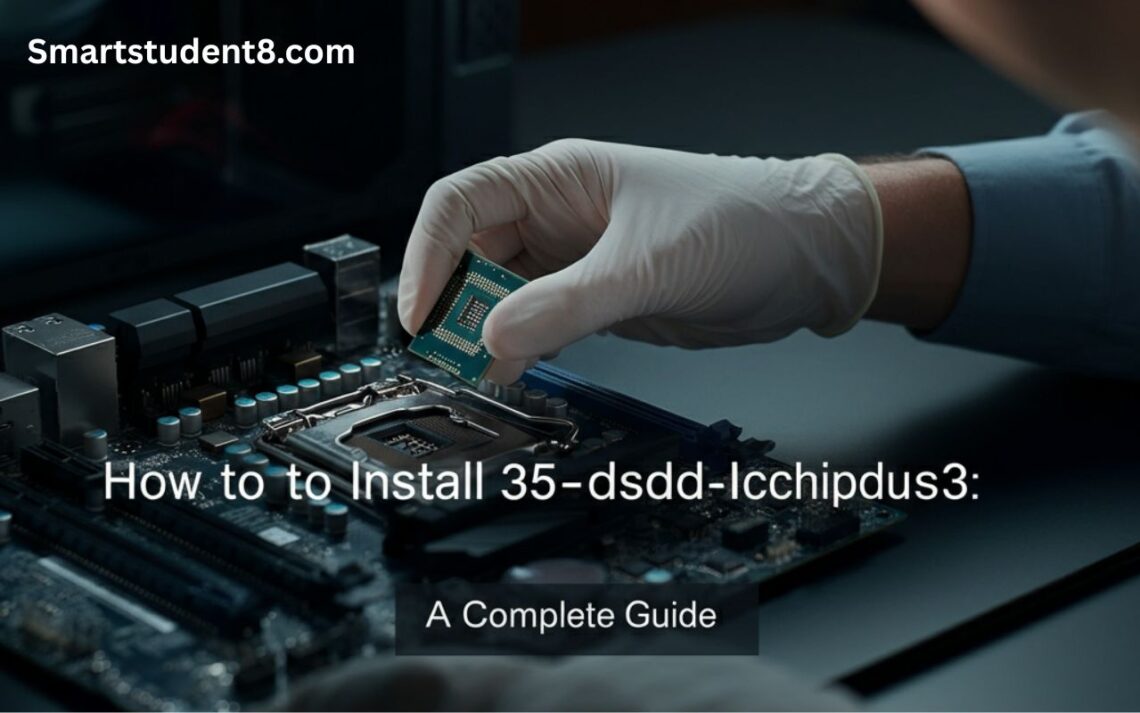
- Locate your installation slot: Here is where the manual of your device becomes very useful. The 35-ds3chipdus3 will be installed into a specific slot on the motherboard. In the manual, you will find a diagram that labels all of the important components. Find a socket with the same pin configuration as the chip. The socket may be marked with an identifier or located near other components such as the main processor or chipset.
- Orient the Chip Correctly. Take a close look at the 35-ds3chipdus3. On one edge or corner, you will see a small mark, such as a triangle, dot, or notch. This is Pin 1. Look at the socket. There will be a mark corresponding to it. It is vital to align these two marks. If you insert the chip incorrectly, it can damage the motherboard and chip permanently when the System is powered on.
- Inserting the Chip: The insertion method will vary depending on the type of socket. You will need to lift the small lever on a socket that uses Zero Insertion Force to place the chip without any pressure. Then, lower the lever again to lock the chip in place. To align the pins in a standard socket and to apply even, gentle pressure on the chip’s top, you must align the pins. Never force it. Remove the chip and check the alignment.
Differences between Soldering and Socket Methods
Not all installations can be as easy as plugging in a chip. In some systems, especially custom-built ones or embedded systems, the chip may need to be soldered onto the circuit board. This is an advanced procedure that requires special equipment and skills. If you’re new to electronics, it is strongly recommended that you do not attempt to solder the chips yourself. Solder bridges (where solder connects two pins by mistake) and cold solder joints (where solder does not flow properly) are difficult to repair. They can make your board unusable.
It is best to consult a professional repair shop if your board needs soldering. They have the right tools, like temperature-controlled soldering irons and magnification equipment, to do the job safely and correctly. The installation process for the vast majority of consumer-grade motherboards will follow a socket-based method as described in the section above. Confirm the type of installation for your hardware before starting.
After-Installation Reassembly: First Boot
The hard part is done once the 35-ds3chipdus3 has been firmly inserted into its socket. It’s now time to put it all back together. Do a final visual check before you close the case. Check that the chip is properly seated, the pins are not bent, and no cables have been accidentally disconnected. Make sure there are no loose screws left in the case. They could cause a circuit.
Replace the side panel carefully and tighten it using its screws. Reconnect the monitor, keyboard, and mouse. Then, reconnect the main power cable. Inhale deeply and turn on your computer. During the first boot, pay close attention. Be alert for any strange sounds, smells, or error messages. The BIOS or UEFI of your computer may display a warning that new hardware has been detected. This is a positive sign. You have probably completed a successful installation of hardware if the system boots up into your operating system with no issues.
Installing Drivers and Configuring Software
Installing the hardware is only the first step. Installing the drivers and configuration software is required for your operating system to recognize the 35-ds3chipdus3 and to properly use it. Your operating System may automatically detect and install generic drivers. However, for optimal performance, it is best to use official drivers from the manufacturer. These are usually available on the DS3 Technologies site.
Use these general steps to install software:
- Install the Latest Drivers: Visit the support section on the manufacturer’s site and download the driver package for your operating System.
- Install the Installer: After downloading, run the executable installer. You will be guided through the entire installation process. Installation may require administrative rights.
- Please restart your Computer: It is almost always necessary for you to restart your computer after the driver installation to ensure that the changes are fully effective.
- Install Configuration Utility: Certain chips include additional software to allow you to monitor performance or adjust settings. Install the utility if it is available. This tool can be used to fine-tune the performance of the chip according to your needs.
Verifying Successful Installation
You need to check that your chip is working correctly after the System has been rebooted. Check your operating system Device Manager (on Windows), or System Information (on macOS). You should find an entry that corresponds to the 35-ds3chipdus3. If there are no error icons (such as a yellow exclamation point), then the driver has been installed and the device recognized.
You can use monitoring or diagnostic software to perform a thorough check. If available, the manufacturer’s configuration tool is ideal for this. This tool can give you real-time information on the status of your chip, its temperature, and performance. You can run stress tests and benchmark applications to place heavy loads on your System. Watch for improvements in stability and performance. If the installation is successful, your System should be as stable, or even more stable, under load, than it was before.
Troubleshooting Common Installation Issues
Even when you prepare carefully, things can still go wrong. Here are the most common issues you may encounter and solutions.
- The System Failed to Boot: Incorrect chip installation or a disconnected part are the most common causes of a computer that won’t turn on or is stuck before the operating system loads. Close the computer, remove the cover, and check your work. Make sure the chip is in the right orientation and is flush with the surface. Check all the major connections between the motherboard and any other components.
- Unstable System or Crashes: A driver conflict or excessive heat could be the cause of random crashes or blue screen. Install the latest and correct drivers. Use a temperature monitor to check the chip. If it’s running too hot, your case may need more airflow.
- No Device Detected: Check that the chip is properly seated in its socket if it does not appear in Device Manager. The issue may be driver-related if the physical connection appears to be good. Uninstall and reinstall the drivers. Verify that you have downloaded the correct driver for your operating system.
After spending an hour trying to figure out why a component was not being detected, I realized that I had accidentally downloaded a 32-bit driver on my 64-bit computer. We often overlook the most basic things, so it’s important to take a step-by-step approach when troubleshooting. Do not panic. Just work through all the possible solutions logically. You can solve almost any installation problem with patience.