You know that feeling the night before a quiz: you’ve read the slides, highlighted half the page, and still can’t explain the topic without looking down. That’s the gap most students hit—recognition (it looks familiar) instead of recall (you can say it clearly), and it’s the same gap many creators discover when they first try image to video.
A short study video fixes that in a very practical way. It forces you to pick the main point, put steps in order, and explain it like you’re helping a friend. The trick is keeping it simple: no fancy editing, no “YouTuber voice,” no overthinking. Just a clean, readable clip you can watch in 30–60 seconds and immediately remember what matters.
Below is a student-friendly workflow you can repeat for any class, plus examples that work for STEM, humanities, and language learning.
Why a short video can beat rereading
Rereading feels safe because it’s passive. But most exams don’t ask, “Have you seen this sentence before?” They ask you to use the idea.
Short videos work well as a study tool because they naturally push you into:
- Retrieval practice: you have to pull the idea from memory to explain it
- Dual coding: a visual cue (diagram/graph) + simple wording helps retention
- Chunking: you’re forced to break a topic into a few key beats instead of a messy page of notes
The best part: even if the video isn’t “pretty,” the act of making it is already revision.
What makes a study video “good” (and not awkward)
A useful study video is basically a flashcard with motion. If you’re unsure what to include, use this 4-part structure:
- One-sentence headline: “If You Remember One Thing About X, Make It This”
- One visual: a diagram, slide, formula, timeline, or image
- One example: a quick scenario, a worked step, or a real-world application
- One takeaway: the single line you’d want in your brain during the test
If your video starts turning into a mini-lecture, it’s usually a sign you’ve mixed two topics. Split it and save yourself the pain.
A Workflow That Gets It Done Without Taking All Night
1) Start from a single source (keep it tight)
Pick one starting point:
- a screenshot of your notes
- one lecture slide
- a photo of a textbook diagram
- one practice question with your solution
Then write a tiny outline—three lines max:
- “What is it?”
- “How does it work?”
- “What’s the common mistake?”
That’s enough to guide the video.
2) Add motion that helps understanding (not motion for motion’s sake)
This is where video generation can help: a slow zoom, a gentle pan, or a step-by-step reveal can make a static diagram easier to follow.
If you want a quick place to test a dedicated video model for this style of study clip, you can try Wan 2.2 free online and treat it as a draft tool: generate a few versions, then keep the one that reads cleanly.
Motion ideas that usually work:
- slow zoom into the important part of a diagram
- left-to-right pan across a timeline
- subtle highlight order: A → B → C
- “pause” moments where the text needs a second to land
Motion ideas that usually don’t:
- fast camera swings
- heavy effects that distract from the content
- constant movement when the viewer needs to read
3) Clean it up for phone viewing
Most students watch these clips on a phone, not a laptop. So optimize for that:
- crop out empty margins
- keep text big (fewer words, larger font)
- don’t cram more than 1–2 key labels on screen at once
- if something is hard to read, it’s not “a little unclear”—it’s useless
A quick self-check: watch once with sound off. If the meaning still comes through, you’re good.
Formats that work across most subjects
Here are the patterns students tend to stick with (because they’re fast and they pay off):
| Format | Best for | What you start with | Typical length |
| Diagram Walkthrough | bio/chem, geography, engineering | one diagram screenshot | 30–45s |
| Graph “What It Means” | econ, stats, business | one chart/graph | 25–40s |
| Worked Steps | math, coding, physics | one practice problem | 45–60s |
| Timeline Recap | history, law, literature | one timeline or bullet list | 30–50s |
| Language Micro-lesson | languages | one phrase + example | 20–35s |
If you’re overwhelmed, pick one format and make 3 videos in the same style. You’ll get faster almost immediately.
Quick prompt templates (copy, tweak, move on)
You don’t need a poetic prompt. Clear instructions win.
| Goal | Prompt style that works |
| Explain a diagram | “Slow zoom on the diagram. Highlight arrows in order. Keep labels readable.” |
| Explain a graph | “Pan along the curve left to right. Pause at the turning point. Show one short takeaway line.” |
| Show a process | “Step-by-step reveal: show Step 1, then Step 2, then Step 3. Minimal motion between steps.” |
| Make it calmer | “Steady camera, gentle movement, soft lighting, no dramatic effects.” |
Tiny upgrade: add the subject in plain words. Example: “photosynthesis diagram,” “supply and demand curve,” “derivative chain rule.”
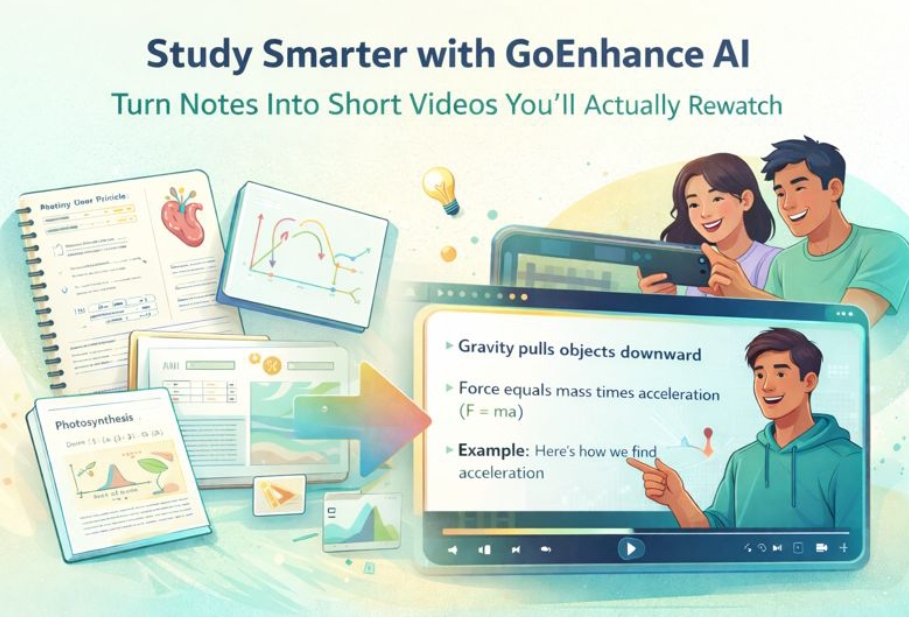
Where GoEnhance AI Fits When You Just Want One Tool
If your goal is speed—drafting, making a few variants, and exporting without juggling five tabs—GoEnhance AI is positioned as an all-in-one workspace for creating and remixing visual content, including image-to-video style outputs.
A realistic student use case looks like this:
- take a clean screenshot of notes
- generate 2–3 motion versions (zoom vs pan vs step reveal)
- keep the clearest one
- repeat next week with the same structure
Over time you end up with a personal “study library” that’s searchable and rewatchable.
Academic integrity and privacy (don’t skip this)
These tools are best used as study aids and presentation helpers—not as a way to dodge learning.
A few practical rules:
- Don’t include classmates’ names, faces, grades, or private work in your screenshots
- If your school has rules about sharing lecture materials, follow them
- Don’t submit a generated explainer as “original research” or pretend it’s a source
- If you’re using this for a group project, agree on what’s allowed before you share clips
Used responsibly, short videos are just a smarter way to review.
Common problems and quick fixes
- “My text is too small.” Crop harder. Use fewer words. Zoom in more.
- “It feels chaotic.” Slow the motion down and reduce camera movement.
- “It looks weird or fake.” Use simpler backgrounds and avoid heavy effects.
- “I’m spending too long on each one.” Cap yourself at 20 minutes per video. The goal is quantity + clarity, not perfection.
Final thought
A good study video isn’t about looking impressive. It’s about making your brain do the work: organize the idea, explain it simply, and attach it to a visual cue you’ll remember later.
Make one short explainer this week—just one. Next time you revise, you’ll understand why this method sticks.